What is an ellipse? It's how artists represent a circle in perspective, and it is…

5 Steps to Seamlessly Bring your Watercolors into the Digital World
Integrating watercolor into your illustration workflow is not much different from any other medium. Watercolor has a unique quality, just like 3D animation or digital painting. A significant amount of detail can be suggested in watercolor, and the lively quality can be applied to a range of applications.
Watercolor is GREAT at providing a sense of complexity on organic things.
Watercolor is ALSO GREAT at bringing a sense of personality and approachability to any subject matter.
We now live in a time when the possibilities of watercolor have never been greater. We can paint traditionally then digitally recombine it, enhance it, and and share it.
I’ve put together a workflow that will lead you along the path to bringing your watercolors up to speed for the current world.
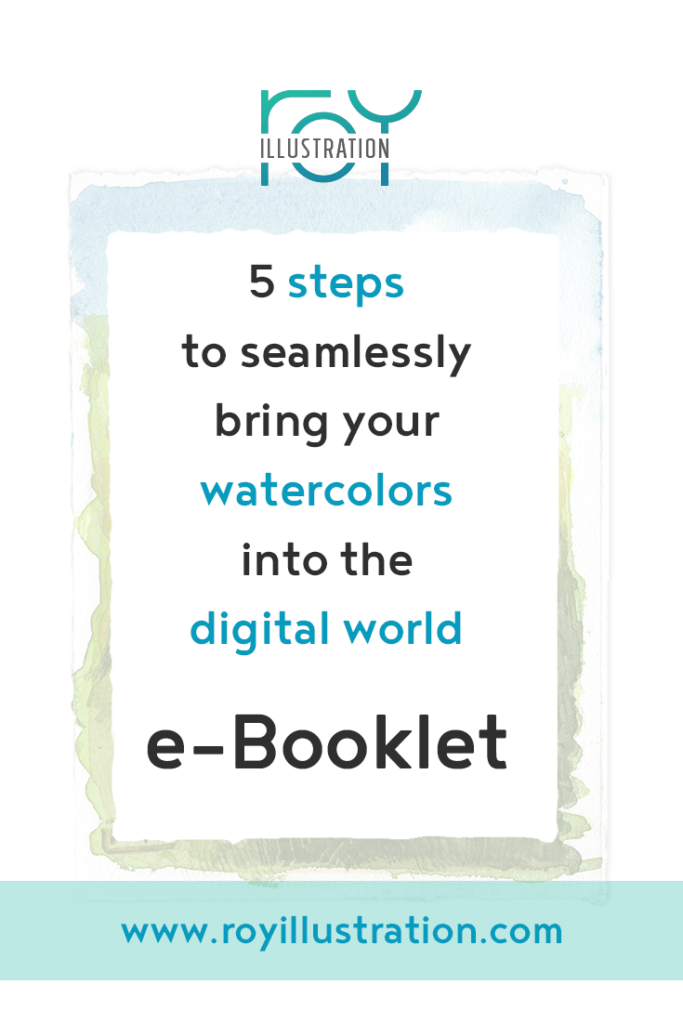
By the way, I’ve written these tips up in an easy e-Book you can download that sums up what I’ve written here. Check it out and tell me what you think.
Download the watercolor e-Book here.
1. Plan
No matter what you are going to make, spend some time thinking ahead. Make a still life, pull together photo references, find a comfortable spot to paint outdoors, or whatever fits your needs.
- Gather references as needed
If you are doing this for a client rather than only for fun (although I hope you have fun either way), be sure to also:
- Price appropriately: watercolor is a unique and valuable skillset. Many people say it is the most difficult medium!
- Follow standard illustration development: Plan sketches before you dive into watercolor in case of changes
- Inform client that changes late in the process will incur additional charges (viz., 3D animation or modeling) and headaches for all!
2. Create
Much of the process of watercolor relies on solid drawing skills. An understanding of hydrodynamics definitely helps as well.
These are some tips to keep in mind as you develop your watercolor:
- Analyze thumbnails and comps to ensure you have a strong design
- Create a clear/accurate drawing indicating
- light/dark division
- speculars
- halftone texture
- shadow core/reflected light
- ambient occlusion
- Do color studies paying attention to hue, value, temperature, saturation.
- Work at 1-1.5x final size for most purposes to preserve the beauty of the watercolor texture.
- Choose paper: hot press for high detail, cold press
for texture - Paint light to dark: in order, lay in wash for speculars, then lights, then darks, then AO (drying in between)
- Paint wet in wet first: define overall tonal composition; dry brush over dry washes to add detail
- Use masking fluid judiciously (if at all) and only apply/remove to fully dry paper
Oh yeah, don’t forget to HAVE FUN!
3. Digitize
Take your watercolor and ensure the paper is fully dry and flat (flatten if needed). Scan it at 600 ppi, RGB for file flexibility (but don’t forget to change it for final output!)
If your painting has a white background, this method has worked well for me!
- Bring your scan into Adobe Photoshop.
- Use magic wand tool to select background
- Invert selection, create a 2nd temporary layer and fill that selection with black
- Use the magic wand tool to select the fill shape that most closely fits the shape of the painting
- Delete the 2nd temporary layer.
- Adjust the perimeter of your selection as needed to get it close (it doesn’t have to be perfect) with:
- lasso tool
- quick selection tool
- Do a final clean up by masking out the background using your selection. Invert your mask to verify whether the image is cleanly & fully selected. Continue to invert the background as necessary until your image is masked as you like.
- When satisfied, leave mask as is or use it to delete the background.
ROY TIP: add a slight Gaussian Blur to your mask (not the original image) for a soft and natural transition.
4. Adjust
Here are a few additional tips for post-processing.
- Use spot healing brush to fix minor blemishes (pencil line, dust, lint, etc)
- Avoid adding excessive digital painting as it can interrupt the charm of the watercolor effect
- Use blend modes and/or blend layers when touching up
- Fix edges sparingly with a textured digital brush (oil/acrylic gouache style brush) in a mask to check appearance—or by copying/pasting another border into the mask for a natural look.
ROY TIP: watercolor is a transparent medium, so painting touch-ups should always be done transparently using blend modes/layers. This preserves the beauty of the original artwork.
5. Integrate
It often works well to integrate watercolors with other elements and backgrounds (digital or traditional) by setting the layer to multiply.
However, this can result in part of the illustration getting too dark or muddied. To deal with this: backpaint with white.
- create a layer in between the artwork and the background
- paint with white on the new layer under the artwork to illuminate it
That sums things up for now!
Don’t forget, I’ve written up these tips in a simple guide you can download.
Download the watercolor e-Book here.
I hope this inspires some watercoloring and pushes you to think of even more possibilities. I know there are many topics I’d like to dig into deeper. For example Creating the appearance of watercolor completely digitally is a whole other beast for another post.
Did you find this helpful? Do you have any of your own tips you’d like to share? I’d love to hear about it if you decide to try something new. If you use it differently, I’d love to hear that, too!

– Laura
Related Posts


This Post Has 0 Comments